If you’re an audio enthusiast or hardware DIYer, chances are you’ve encountered the need to house your components in a professional, sturdy, and visually clean setup. A DIY rack enclosure using aluminum extrusions is a popular, affordable, and highly customizable option. Whether you’re building a preamp, power amplifier, or PA system processor, this approach offers durability and aesthetics.
In this article, we’ll dive into the design, planning, material selection, assembly tips, and acoustic considerations needed for building a rack enclosure suitable for an audio or PA system project.
Within the first 100 words, it’s worth noting that many DIY audio builders turn to a custom rack solution to house their PA system gear effectively. This setup not only organizes equipment but also allows for easier integration, maintenance, and airflow management. Let’s walk through everything you need to know to start your own build.
Why Choose Aluminum Extrusions for a PA System Enclosure
Durability Meets Modularity
Aluminum extrusions are not only lightweight and strong but also modular by nature. They allow for easy panel attachment, expansion, and modification, which is ideal when customizing enclosures for PA system components. This is particularly useful when your design includes amplifiers, EQs, crossovers, or any other rack-mounted audio processing units.
Cost-Effective and Accessible
Unlike welded steel or injection-molded enclosures, aluminum extrusion-based racks can be built with common hand tools. You don’t need expensive equipment or advanced fabrication skills, making it perfect for the DIYer. Plus, aluminum’s corrosion resistance ensures your PA system is protected even in rugged environments like mobile rigs or outdoor venues.
Planning Your Rack Enclosure for a PA System
Define Your Rack’s Purpose and Layout
Before diving into materials, determine what your enclosure will house. Is it strictly for rack-mounted gear, or will it also need ventilation fans, a power strip, cable management, or custom faceplates? For a PA system, common components might include:
A power amplifier
A crossover
A mixer
Signal processors
Power conditioners
Having a layout plan will dictate how many rack units (U height) you need, as well as how deep the chassis should be.
Rack Standard Dimensions
In audio and PA system setups, rack standards are important. One rack unit (1U) is 1.75 inches high. Standard rack width is 19 inches, and depth varies depending on the gear (often between 12”–18” for portable setups). These dimensions will guide your material cut list.
Material Selection for Your Aluminum Rack Project
Aluminum Profiles and Corner Brackets
You’ll need T-slot or L-slot aluminum extrusions, commonly available from vendors like 80/20 Inc., Misumi, or local industrial suppliers. T-slot profiles are particularly handy because they allow easy mounting of panels and gear using sliding nuts or brackets. Make sure to include matching corner brackets and fastening hardware.
Front and Rear Rack Rails
Rack rails are essential for mounting PA system gear. Steel or aluminum rails with tapped holes (10-32 or M6) are standard. Ensure they’re cut to fit your width and have standard hole spacing to match your gear.
Panels, Feet, and Ventilation
For the sides, top, and bottom panels, you can use aluminum sheet, acrylic, or even wood for budget builds. Don’t forget to factor in:
Rubber feet or casters
Rack handles for portability
Perforated panels or mesh for airflow
Fans for forced cooling in higher-wattage builds
Assembling the Rack for Your PA System
Cutting and Preparing Aluminum Extrusions
Once you have your design and materials, cut the extrusions to your specified length using a miter saw with a non-ferrous blade. Clean edges with a file and check for squareness. Lay out your frame before full assembly.
Frame Construction Tips
Using corner brackets, begin assembling the top and bottom frames first, ensuring everything is square. Then attach vertical supports and double-check all measurements. Tighten bolts securely but avoid over-torquing, which can warp aluminum or strip threads.
Mounting Rack Rails and Panels
After your frame is complete:
Secure rack rails to the inside of the front and rear extrusions.
Install side, top, and bottom panels using sliding T-nuts or direct screw mounts.
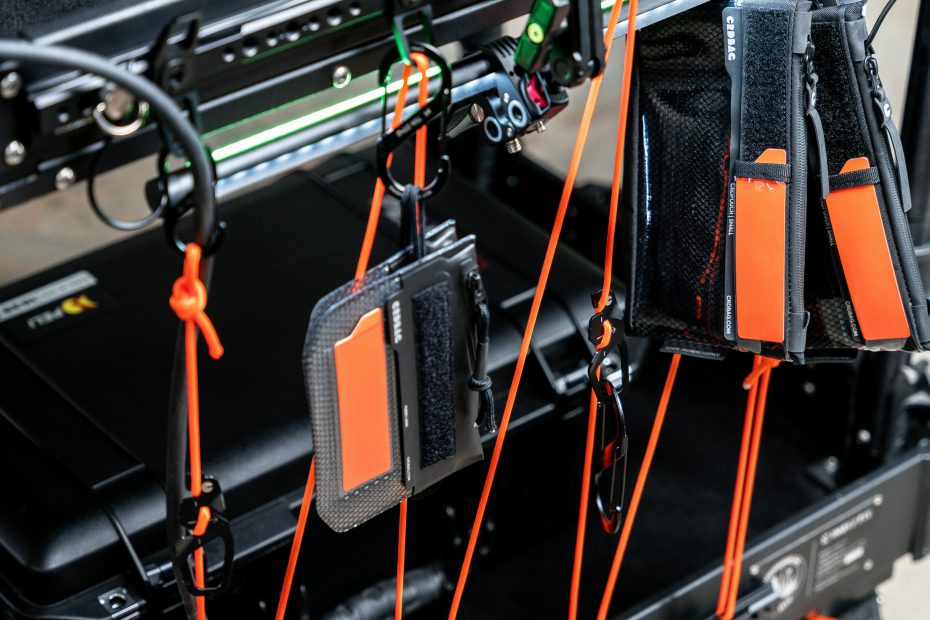
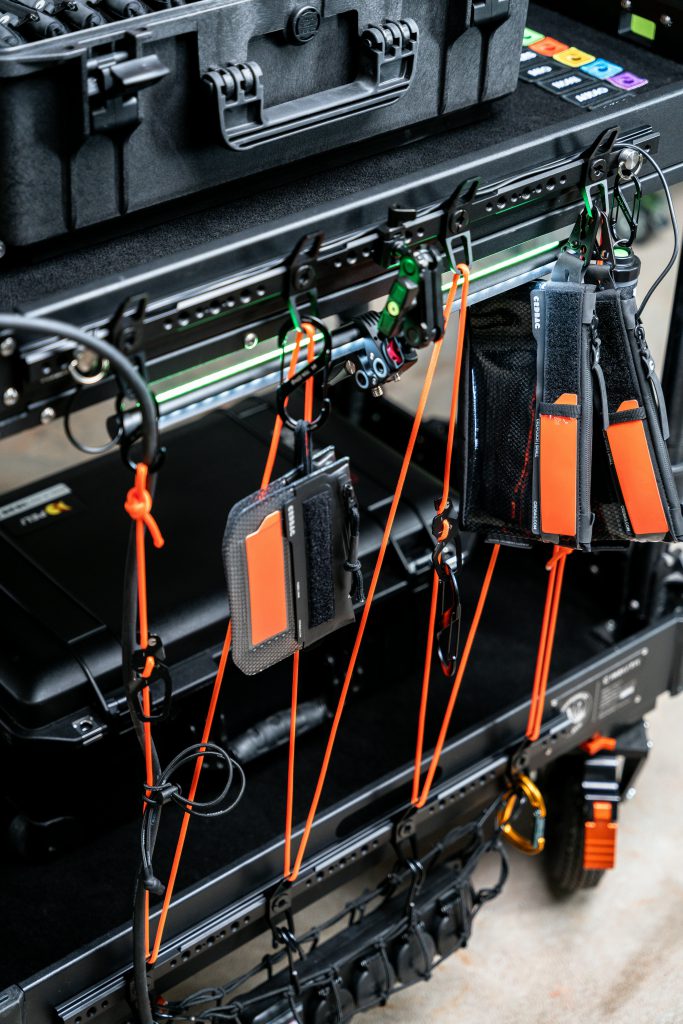
Add cable management ties, internal brackets, or foam padding where necessary.
If you’re building for a PA system, leave extra space at the back for wiring and connectors. You may also want rear access doors or cutouts for IEC power sockets or audio jacks.
Customizing Your Enclosure for a PA System
Faceplates and Front Panel Design
Design custom front panels for your amplifier or processor controls. This can be as simple as laser-etched aluminum, a printed decal laminated and mounted behind acrylic, or a full CNC-milled faceplate. Companies like Front Panel Express offer easy-to-use design tools.
Grounding and Shielding
For any PA system with audio circuitry, grounding is crucial. Mount all internal components to the same ground plane, and use star grounding when possible. Shield panels internally with copper tape or shielding paint to avoid hum or RF interference.
Labeling and Documentation
Clearly label all inputs/outputs on your rear panel for ease of setup and troubleshooting. Keep a wiring diagram inside the rack enclosure as a reference — this is particularly helpful when you’re touring or setting up quickly.
Acoustic and Thermal Considerations in PA System Enclosures
Ventilation Is Key
PA systems generate heat — power amps, especially. Ensure airflow from front to back or bottom to top. Add intake and exhaust fans if necessary, and monitor thermal performance after your first few live uses.
Vibration Isolation
Use rubber feet or vibration-isolating mounts inside your case to protect sensitive gear. A DIY PA system built into a portable rack enclosure will often encounter rough handling, so protecting internal components extends the life of your system.
Building a DIY Rack Enclosure for PA System Projects
Building a DIY rack enclosure using aluminum extrusions is a rewarding and functional solution for anyone managing their own PA system gear. With a little planning and the right materials, you can build a professional-grade housing that suits your exact needs — from touring bands to fixed installations.
This approach provides an affordable, modular, and scalable solution. More importantly, it gives you the freedom to customize every aspect to best suit your PA system configuration. Whether you’re a hobbyist or a professional, this build method is an investment in both organization and performance.
And just like we did in the introduction, we’ll conclude by saying that a custom-built aluminum rack enclosure can be one of the most useful projects in your entire PA system journey. Start small, plan smart, and build proudly.