How to Connect a Digital Mixer to Multiple Audio Devices?
Setting up a digital mixer to work with multiple audio devices is essential for achieving professional sound quality in live performances, recording studios, and broadcasting environments. Whether you’re connecting microphones, instruments, speakers, or computers, understanding the proper methods ensures seamless audio signal flow and optimal performance. In this guide, we will explore the best practices for connecting digital mixers to multiple audio devices, ensuring clarity, flexibility, and efficiency in your audio setup.

Understanding Digital Mixers and Their Connectivity Options
1. What Are Digital Mixers?
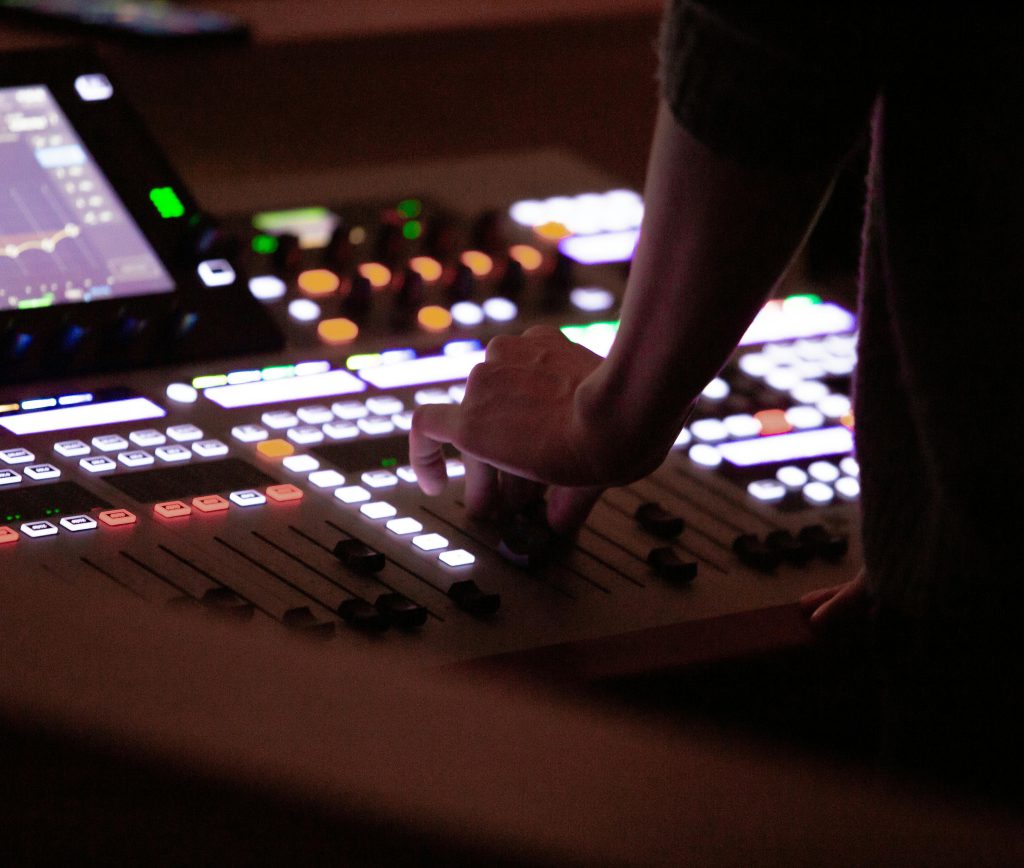
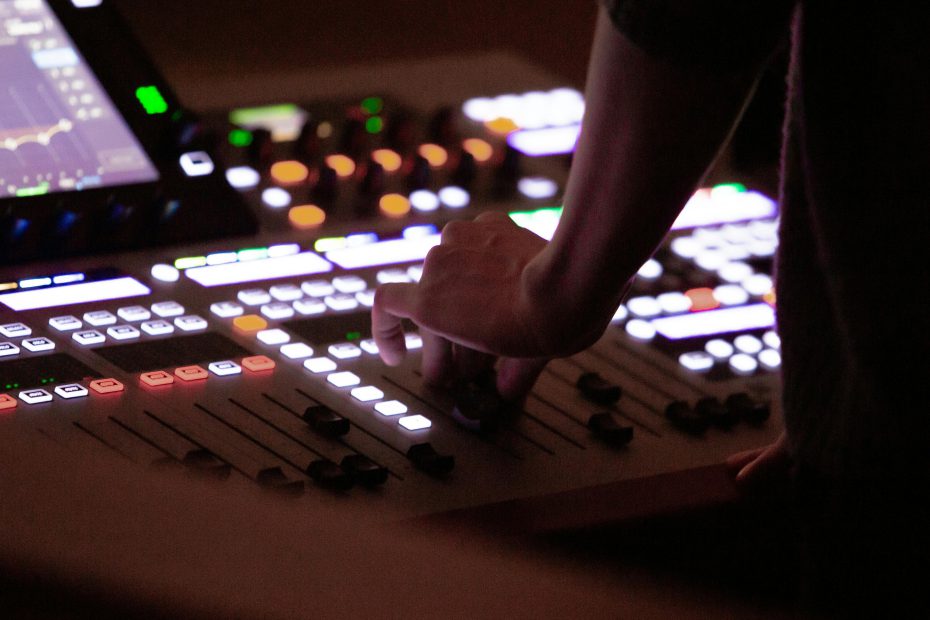
A digital mixer is an advanced audio mixing console that processes sound digitally, offering more control, automation, and precision than traditional analog mixers. These mixers allow for multiple input and output connections, making them ideal for complex audio setups.
2. Common Input and Output Options in Digital Mixers
Most digital mixers come equipped with various input and output ports to facilitate connectivity with different audio devices:
- XLR and TRS Inputs – Used for microphones and instruments.
- Auxiliary (AUX) Outputs – For external effects processors or monitor speakers.
- Main Outputs (XLR or 1/4″ TRS) – Connect to speakers or amplifiers.
- USB and Ethernet Ports – For computer recording and remote control.
- MIDI Ports – To connect external MIDI devices.
- Optical and Digital Outputs – Used for advanced digital audio transmission.
How to Connect a Digital Mixer to Microphones and Instruments
1. Connecting Microphones to a Digital Mixer
To connect a microphone to a digital mixer, follow these steps:
- Plug an XLR cable from the microphone into one of the XLR inputs on the mixer.
- Enable phantom power (+48V) if using a condenser microphone.
- Adjust the gain/trim knob to set an appropriate input level.
- Assign the input channel to a mix bus for further processing.
2. Connecting Instruments to a Digital Mixer
For direct instrument connections:
- Use a DI box for electric guitars and bass to convert the signal to a balanced XLR input.
- For keyboards or synthesizers, use stereo 1/4″ TRS cables to connect to line inputs.
- Adjust input gain to prevent distortion while ensuring a clear signal.
Connecting a Digital Mixer to Speakers and Amplifiers
1. Using Main Outputs for PA Systems
When connecting digital mixers to PA speakers or amplifiers:
- Use balanced XLR or TRS cables to connect from the mixer’s main outputs to the amplifier or powered speakers.
- Adjust the master volume on the mixer before powering on the speakers.
- Set proper gain levels to avoid feedback or distortion.
2. Using AUX Outputs for Monitor Speakers
AUX outputs allow independent volume control for stage monitors:
- Connect an AUX output from the digital mixer to a monitor speaker.
- Assign specific channels to the AUX send for a customized mix.
- Adjust the AUX send levels separately for each monitor.
How to Connect a Digital Mixer to a Computer for Recording?
1. Using USB or FireWire for Digital Recording
Many digital mixers include USB or FireWire connectivity to record directly into a computer:
- Connect the mixer’s USB output to a computer’s USB port.
- Install the necessary audio drivers provided by the manufacturer.
- Open a DAW (Digital Audio Workstation) and select the mixer as the input device.
- Configure individual tracks for multi-channel recording.
2. Using an Audio Interface for Recording
If the digital mixer lacks direct USB connectivity:
- Route the mixer’s main outputs or direct outputs into an external audio interface.
- The interface will convert analog signals to digital for recording on a computer.
- Ensure proper sample rate and bit depth settings in the DAW.
Connecting a Digital Mixer to External Effects Processors
1. Using AUX Sends for External Effects
For integrating effects like reverb or delay:
- Connect an AUX send output to the input of an external effects processor.
- Connect the processor’s output back into the digital mixer’s return input or a spare channel.
- Adjust the AUX send level to control the amount of processed signal.
2. Using Inserts for Dynamic Processing
To use external compressors or equalizers:
- Use insert points on individual channels to route the signal through an external processor.
- Ensure the effect is properly balanced to avoid over-processing.
How to Connect a Digital Mixer to a Wireless System?
1. Connecting Wireless Microphones
Wireless microphones use a receiver that outputs audio to the digital mixer:
- Connect the receiver’s XLR or TRS outputs to the mixer’s microphone inputs.
- Adjust gain levels to optimize sound clarity.
2. Integrating Bluetooth and Wireless Audio Devices
Some digital mixers support Bluetooth or Wi-Fi connectivity:
- Pair the wireless device with the mixer’s built-in Bluetooth receiver.
- Use networking features to control the mixer remotely via a tablet or smartphone app.
Best Practices for Managing Multiple Audio Connections
1. Use Proper Cable Management
Organized cables prevent signal loss and interference:
- Label all input and output cables.
- Use balanced cables (XLR or TRS) to minimize noise.
- Keep power cables away from audio cables to reduce hum.
2. Set Up a Routing Plan
To prevent signal overload:
- Assign each input to a specific channel.
- Use subgroups and buses for better mix control.
- Monitor levels with headphones or metering tools.
3. Regularly Update Firmware and Software
Keeping your digital mixer up to date ensures compatibility with modern audio devices and new features.
Troubleshooting Common Digital Mixer Connection Issues
1. No Sound Output
- Check that all cables are properly connected.
- Ensure that the master fader is up.
- Verify that the mute buttons are off.
2. Distorted or Clipped Audio
- Reduce the input gain to prevent clipping.
- Check if any EQ settings are boosting frequencies too much.
3. Latency Issues in Recording
- Lower the buffer size in your DAW settings.
- Use ASIO drivers for better performance.
Connecting a Digital Mixer to Multiple Audio Devices
Mastering how to connect a digital mixer to multiple audio devices ensures a smooth and professional audio experience. Whether you’re setting up microphones, speakers, computers, or wireless systems, following best practices guarantees high-quality sound. With proper routing, cable management, and troubleshooting skills, your digital mixer can serve as the central hub for any audio setup, providing flexibility and precision in every performance or recording session. Now that you know the essential steps, it’s time to optimize your audio connections and unlock the full potential of your digital mixer!
