In the vast realm of audio production, every detail matters when it comes to the final quality of your work. When you’re ready to step up from a home studio setup to professional-grade production, connecting your mixer (Mixer) with an audio interface (Audio Interface) is undoubtedly a critical step towards enhancing sound quality and expanding creative possibilities. This article will guide you through this transition, enabling you to achieve professional results and infuse every note with expertise and passion.
Introduction: Why Connect a Mixer with an Audio Interface?
A mixer serves as the central hub for audio processing, capable of handling multiple audio signals simultaneously. By adjusting volume levels, balance, effects, and more, mixers blend numerous tracks into a harmonious whole. An audio interface acts as the bridge between the digital audio world and the physical one, converting analog signals into digital form so that computers can record, edit, and mix them. Combining these two pieces of equipment not only significantly enhances the clarity, dynamic range, and detail of the audio but also provides greater flexibility and creativity in post-production.
Preparation: Choosing the Right Hardware
Mixer Selection: Choose a mixer based on your needs, such as the number of input channels, built-in effects, portability, etc. Professional mixers typically offer more channels and advanced features suitable for complex projects, while portable mixers are ideal for live performances or small studios.
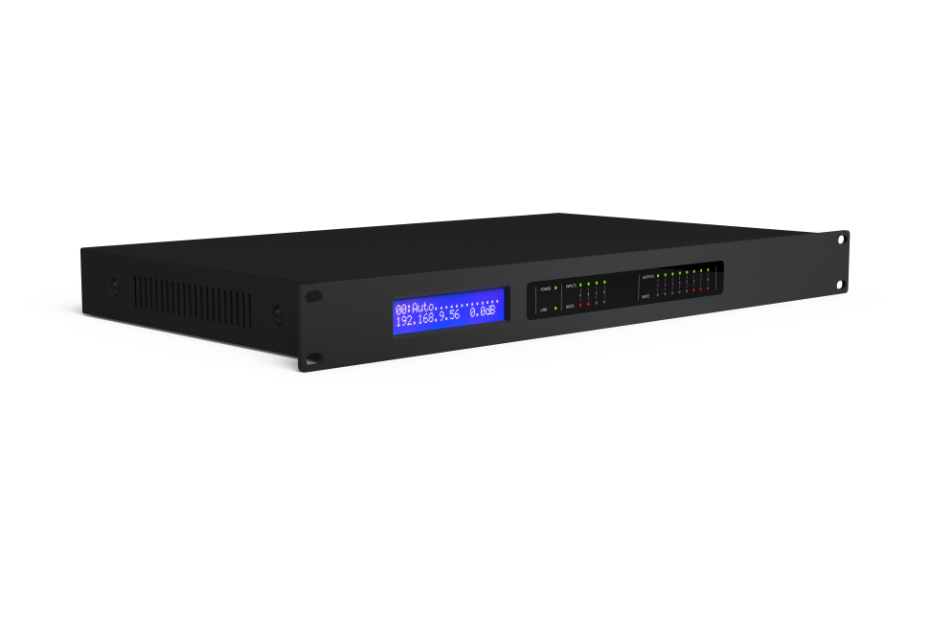
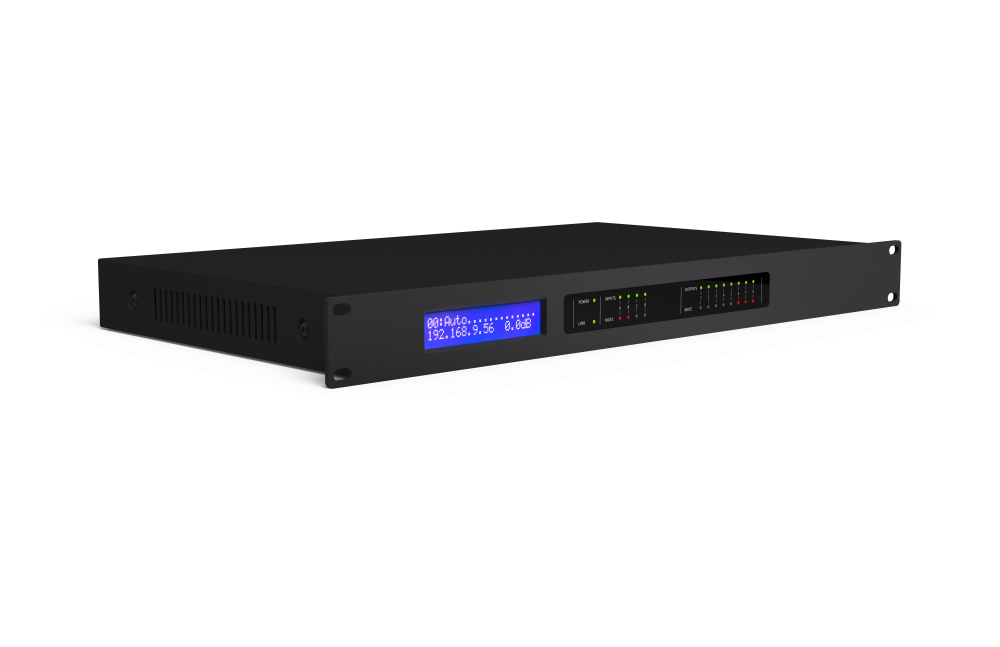
Audio Interface Selection: Ensure the interface has sufficient input/output ports to match your mixer, considering key parameters such as sampling rate, bit depth, and low noise performance. A high-quality audio interface can effectively reduce distortion and noise during the digital conversion process.
Connecting Your Equipment in Detail
Power Down: Before connecting any devices, make sure all equipment is powered off to prevent electrical surges from causing damage.
Cable Connection: Use balanced XLR or TRS cables to connect the main output (usually Master Out or Main Out) of your mixer to the corresponding input ports on the audio interface. Be mindful of stereo vs. mono outputs and correctly match left and right channels.
Interface Settings: Open the software control panel of your audio interface to check if the input signal is correctly identified and adjust settings like gain and phantom power as needed.
Mixer Configuration: Set the appropriate output level on the mixer to ensure the signal is neither overloaded nor too weak. Additionally, tweak the parameters of built-in effects processors to add color to the audio signal.
Software Integration: In your Digital Audio Workstation (DAW), select the correct audio interface as the audio input source and configure the corresponding recording tracks, preparing to start recording or mixing.
Optimization Suggestions
Noise Isolation: Use isolation transformers or grounding devices to reduce electromagnetic interference and improve audio quality.
Regular Calibration: Use professional calibration tools to regularly check and adjust your equipment to ensure consistent sound quality.
Software Assistance: Enhance the audio further using plugins and effects within your DAW, such as equalizers, compressors, reverbs, etc.
Perfectly connecting a mixer with an audio interface is not just about combining hardware; it’s about upgrading your audio creation philosophy. Through this step, you’ll unlock richer tonal expression and finer dynamic control, bringing an unprecedented auditory feast to your listeners. Whether you’re a music producer, audio engineer, or audio enthusiast, mastering this skill will open up endless possibilities for your audio production journey. So, get started today and embark on your exploration of pro-level sound experiences!