Step-by-Step Guide to Setting Up a Digital Mixer for Live Sound
Setting up a digital mixer for live sound can seem like a daunting task, especially if you’re new to the world of digital audio equipment. However, with the right knowledge and a systematic approach, you can quickly become comfortable with the process and ensure your sound system delivers top-notch performance. In this step-by-step guide, we’ll walk you through the process of setting up a digital mixer for live sound, providing useful tips along the way to make the process as smooth as possible.
Understanding Your Digital Mixer: The Basics
Before diving into the actual setup process, it’s important to have a basic understanding of what a digital mixer is and how it works. Unlike traditional analog mixers, which use physical components like resistors and capacitors to manipulate audio signals, a digital mixer uses digital signal processing (DSP) to control the audio signals. This allows for more flexibility, precision, and integration with other digital devices, making it a popular choice for live sound setups.
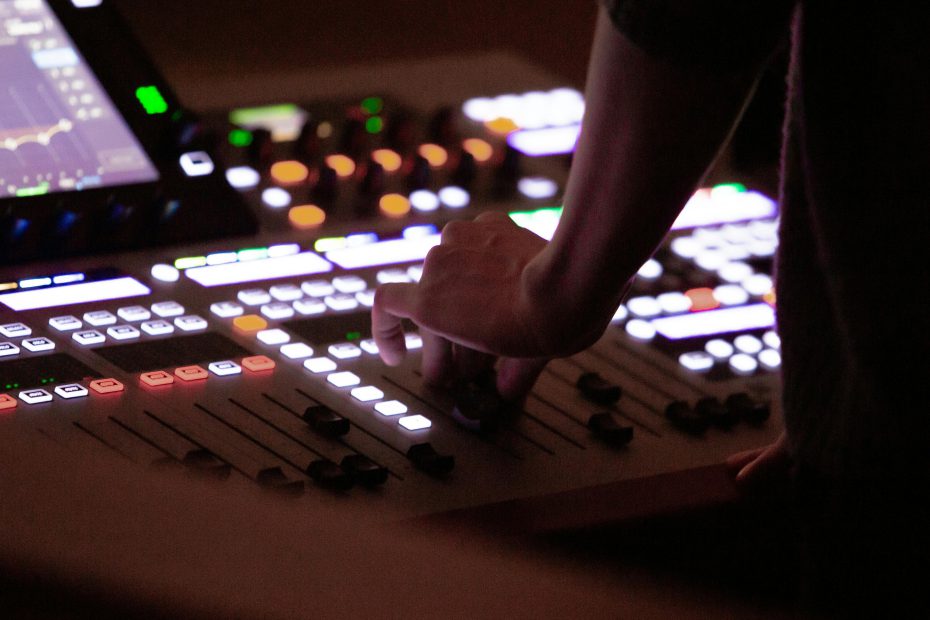
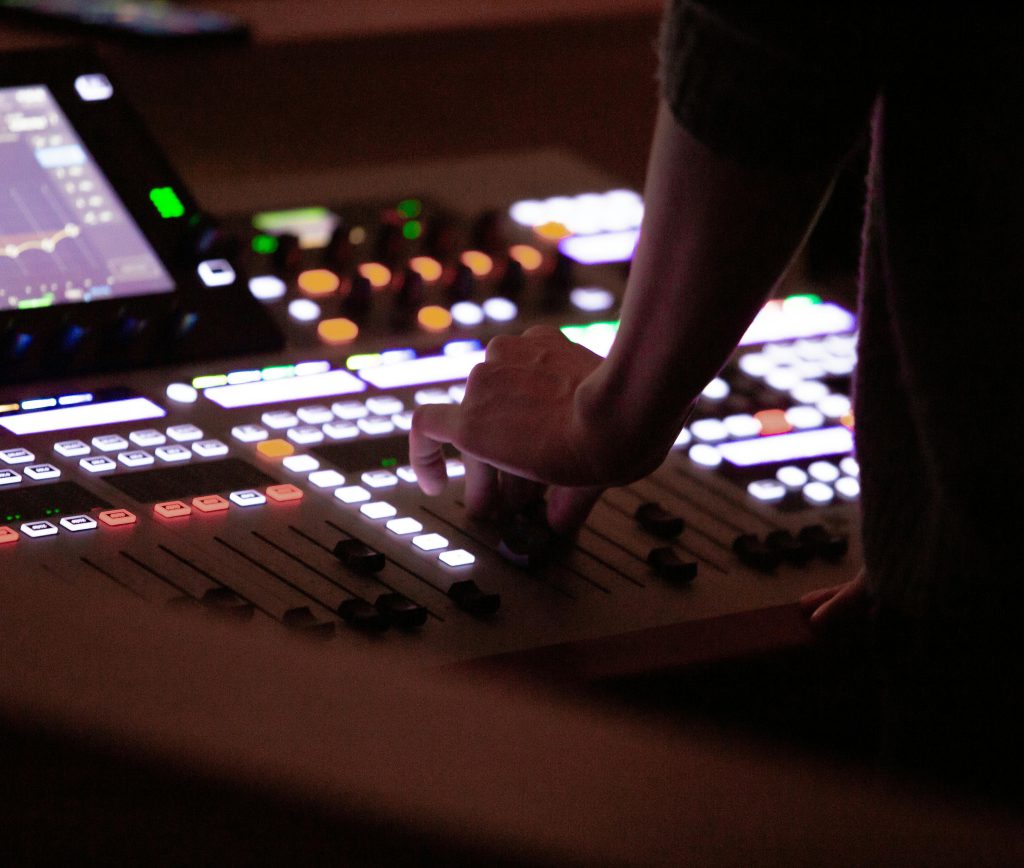
One of the first things you should do when setting up your digital mixer is familiarize yourself with its controls and interface. Most digital mixers come with a touchscreen interface that allows you to access a wide range of features and settings. It’s crucial to understand how to navigate through the menu system, as this will be your primary way of making adjustments during a live performance.
Step 1: Prepare Your Equipment
The first step in setting up your digital mixer for live sound is to ensure you have all the necessary equipment. Aside from the mixer itself, you’ll need microphones, speakers, cables, amplifiers, and other gear specific to your setup. Here’s a checklist of items you might need:
- Digital mixer
- Microphones (wired or wireless)
- Audio interface (if necessary)
- Audio cables (XLR, TRS, etc.)
- Amplifiers
- Speakers (main and monitor speakers)
- Power strips and extension cords
Once you have everything ready, take the time to inspect your equipment and make sure all cables are in good condition. Faulty cables can cause issues during setup, so it’s best to replace any that look damaged.
Step 2: Connect Your Audio Sources
Once you have everything set up and ready to go, the next step is to connect your audio sources (e.g., microphones, instruments, etc.) to the digital mixer. Most digital mixers will have multiple input channels, each capable of handling different types of audio sources.
Connecting Microphones
The most common audio sources for live sound setups are microphones. For each microphone, you’ll want to connect it to an available input channel on your digital mixer using an XLR cable. Make sure to connect each mic to its designated channel on the mixer to avoid confusion later on. Depending on the type of mixer you have, you might need to adjust the gain settings for each microphone to ensure optimal sound quality.
Connecting Instruments and Other Sources
If you’re using instruments like guitars, keyboards, or basses, you can connect them directly to the mixer through the appropriate input channels. Many digital mixers offer dedicated inputs for line-level signals, so be sure to connect your instruments to these inputs. Additionally, if you’re using other audio sources like playback devices or computers, make sure they are connected via the appropriate inputs, such as RCA or USB.
Step 3: Set Up Your Mixer’s Gain Structure
Once you’ve connected all of your audio sources, the next important step is to set up the gain structure for your digital mixer. This refers to adjusting the input levels for each audio source so that they’re not too loud or too quiet.
Gain Control
Most digital mixers have a gain knob or digital gain control for each channel. This allows you to adjust the input level for each source. Start by adjusting the gain on each channel to a moderate level and slowly increase it while monitoring the levels on the mixer’s screen. You should aim for the input levels to reach a healthy level—typically in the green or yellow zone—without peaking into the red, as this can cause distortion.
Use the Preamp or Trim Controls
In addition to the gain control, some digital mixers have preamp or trim controls that allow you to further adjust the input signal. These controls are especially useful for optimizing the sound of microphones and instruments. By fine-tuning these settings, you can ensure that your audio sources sound clear and balanced without unwanted distortion.
Step 4: Apply EQ and Effects
One of the biggest advantages of using a digital mixer is the ability to apply advanced equalization (EQ) and effects directly to each input channel. After setting your gain structure, the next step is to shape the sound to your liking.
Equalization (EQ)
Digital mixers allow for precise control over the frequency spectrum of each input channel. You can apply EQ to boost or cut specific frequencies, helping to shape the sound of each source. For example, you might want to cut some low-end frequencies from a vocal mic to reduce muddiness, or boost the high end of a guitar for more brightness. Many digital mixers come with built-in parametric EQs, which allow for fine adjustments across multiple frequency bands.
Adding Effects
Another powerful feature of digital mixers is the ability to add effects such as reverb, delay, and chorus. You can apply these effects to individual channels or globally across the mix. Reverb, for instance, can be used to add depth and ambiance to vocals, while delay might be applied to instruments for a sense of space. Be sure to experiment with different effects and find the right balance for each source.
Step 5: Set Up Your Outputs and Routing
With the input channels configured, the next step in setting up your digital mixer is to configure the outputs and routing. This involves determining where the audio signal will be sent, such as to the main speakers, monitor speakers, or recording devices.
Main Outputs
The main outputs are typically used to send the mixed audio signal to the main speakers or PA system. Connect your mixer’s main outputs to the power amplifiers that drive your speakers. Depending on your setup, you may need to adjust the output levels to ensure that the sound is at the appropriate volume for the venue.
Monitor Outputs
In addition to the main outputs, you’ll likely need to set up monitor outputs for the performers. These outputs send the audio mix to the stage monitors, allowing the musicians and singers to hear themselves while performing. Be sure to adjust the monitor mix so that each performer hears what they need, without overwhelming them with too much volume.
Step 6: Perform a Sound Check
Once everything is connected and configured, it’s time to perform a sound check. This is a crucial step in ensuring that your digital mixer is set up properly for the live performance.
Check Individual Channels
During the sound check, start by checking each individual channel. Ensure that all microphones, instruments, and audio sources are coming through clearly and at the proper volume. Pay attention to any feedback or distortion and make adjustments as needed.
Balance the Mix
Once all the channels are checked, focus on balancing the overall mix. Adjust the levels of each channel to achieve a well-balanced sound. You might need to tweak the EQ settings or effects slightly to fine-tune the sound, but once you have everything dialed in, you should be ready for the live show.
Setting Up a Digital Mixer for Live Sound
Setting up a digital mixer for live sound is a process that requires attention to detail and an understanding of your equipment. By following this step-by-step guide, you can ensure that your digital mixer is configured for optimal performance, resulting in a clear, powerful sound that enhances your live performance.
As you gain more experience with digital mixers, you’ll become more comfortable with the process and be able to make adjustments on the fly during live events. Just remember that practice makes perfect, and with each performance, you’ll improve your skills in using a digital mixer to achieve the best possible sound.
Setting up a digital mixer for live sound can seem like a daunting task, but with the right knowledge and approach, it becomes a manageable process that ensures excellent audio quality for any live event.